
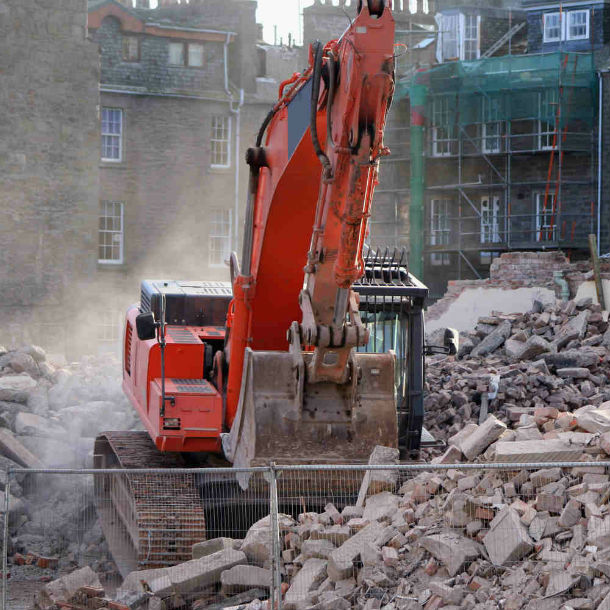
Cutting and removing concrete would sound like a very formidable task to do. This is true especially with those involving street pavement being broken and demolished to give way to a new concrete pavement. These kinds of construction jobs are usually done by big-time contractors.
But as uncommon as concrete removal may look in the domestic sense, there are actually many household situations where we may find ourselves being confronted by a need to cut and remove concrete. It may be a repair of water or drain leak in your house or yard or a plan to replace the concrete covering in one part of your garden with decorative grasses and plants. In any case, it pays to know what and how to do it, even if you have in mind to hire a contractor to do the job for you.
Below you will find the basic steps in the concrete cutting and removal job. These steps assume that you already have a clear purpose for the activity and that you have identified the area where cutting is to be made.
1. Prepare the Site
Concrete cutting and removal is difficult if surface is dirty and congested. If there are clutters restricting the movement of workers, ensure that the site is cleared of these barriers to movement. It is also important that items which may be damaged by dust or by chipped concrete fragments during cutting are covered with protective mats or sacks. Check also that the passage way for moving the rubbles is clear when the broken concrete is removed from the site.
2. Ready Your Tools
For most concrete cutting jobs in the home, the following are the most common tools needed:
- Electric circular saw with diamond or abrasive blade
- Sledgehammer
- Jackhammer
- Large pry bar or a pick
- Shovel
- Bolt cutters for wire mesh
- Demolition saw for rebars
3. Ready Your Safety Equipment
Concrete cutting and removal, by its very nature, is a dirty job as it means rousing dust from its compaction inside the concrete. Add water and you’ll have a mess of the mud that is created. It is also a job involving risks as tiny fragments of concrete may fly at different directions. Hence, you need safety tools and protective gadgets to keep you safe from harm. These include:
- Chalk for line marking
- Straight-edge piece of wood for guide
- Thick gloves
- Goggles
- Ear protective gear
- Dust mask or respirator
- Steel-toe boots or equivalent work shoes
- Clothes thick enough to cover you from the elements
4. Lay out the Area
Establish the demarcation enclosure using a straight-edge piece of wood long enough for the purpose. Use coloured chalks in lay-outing and make sure that the line marks are wider and will be readable enough even from a distance.
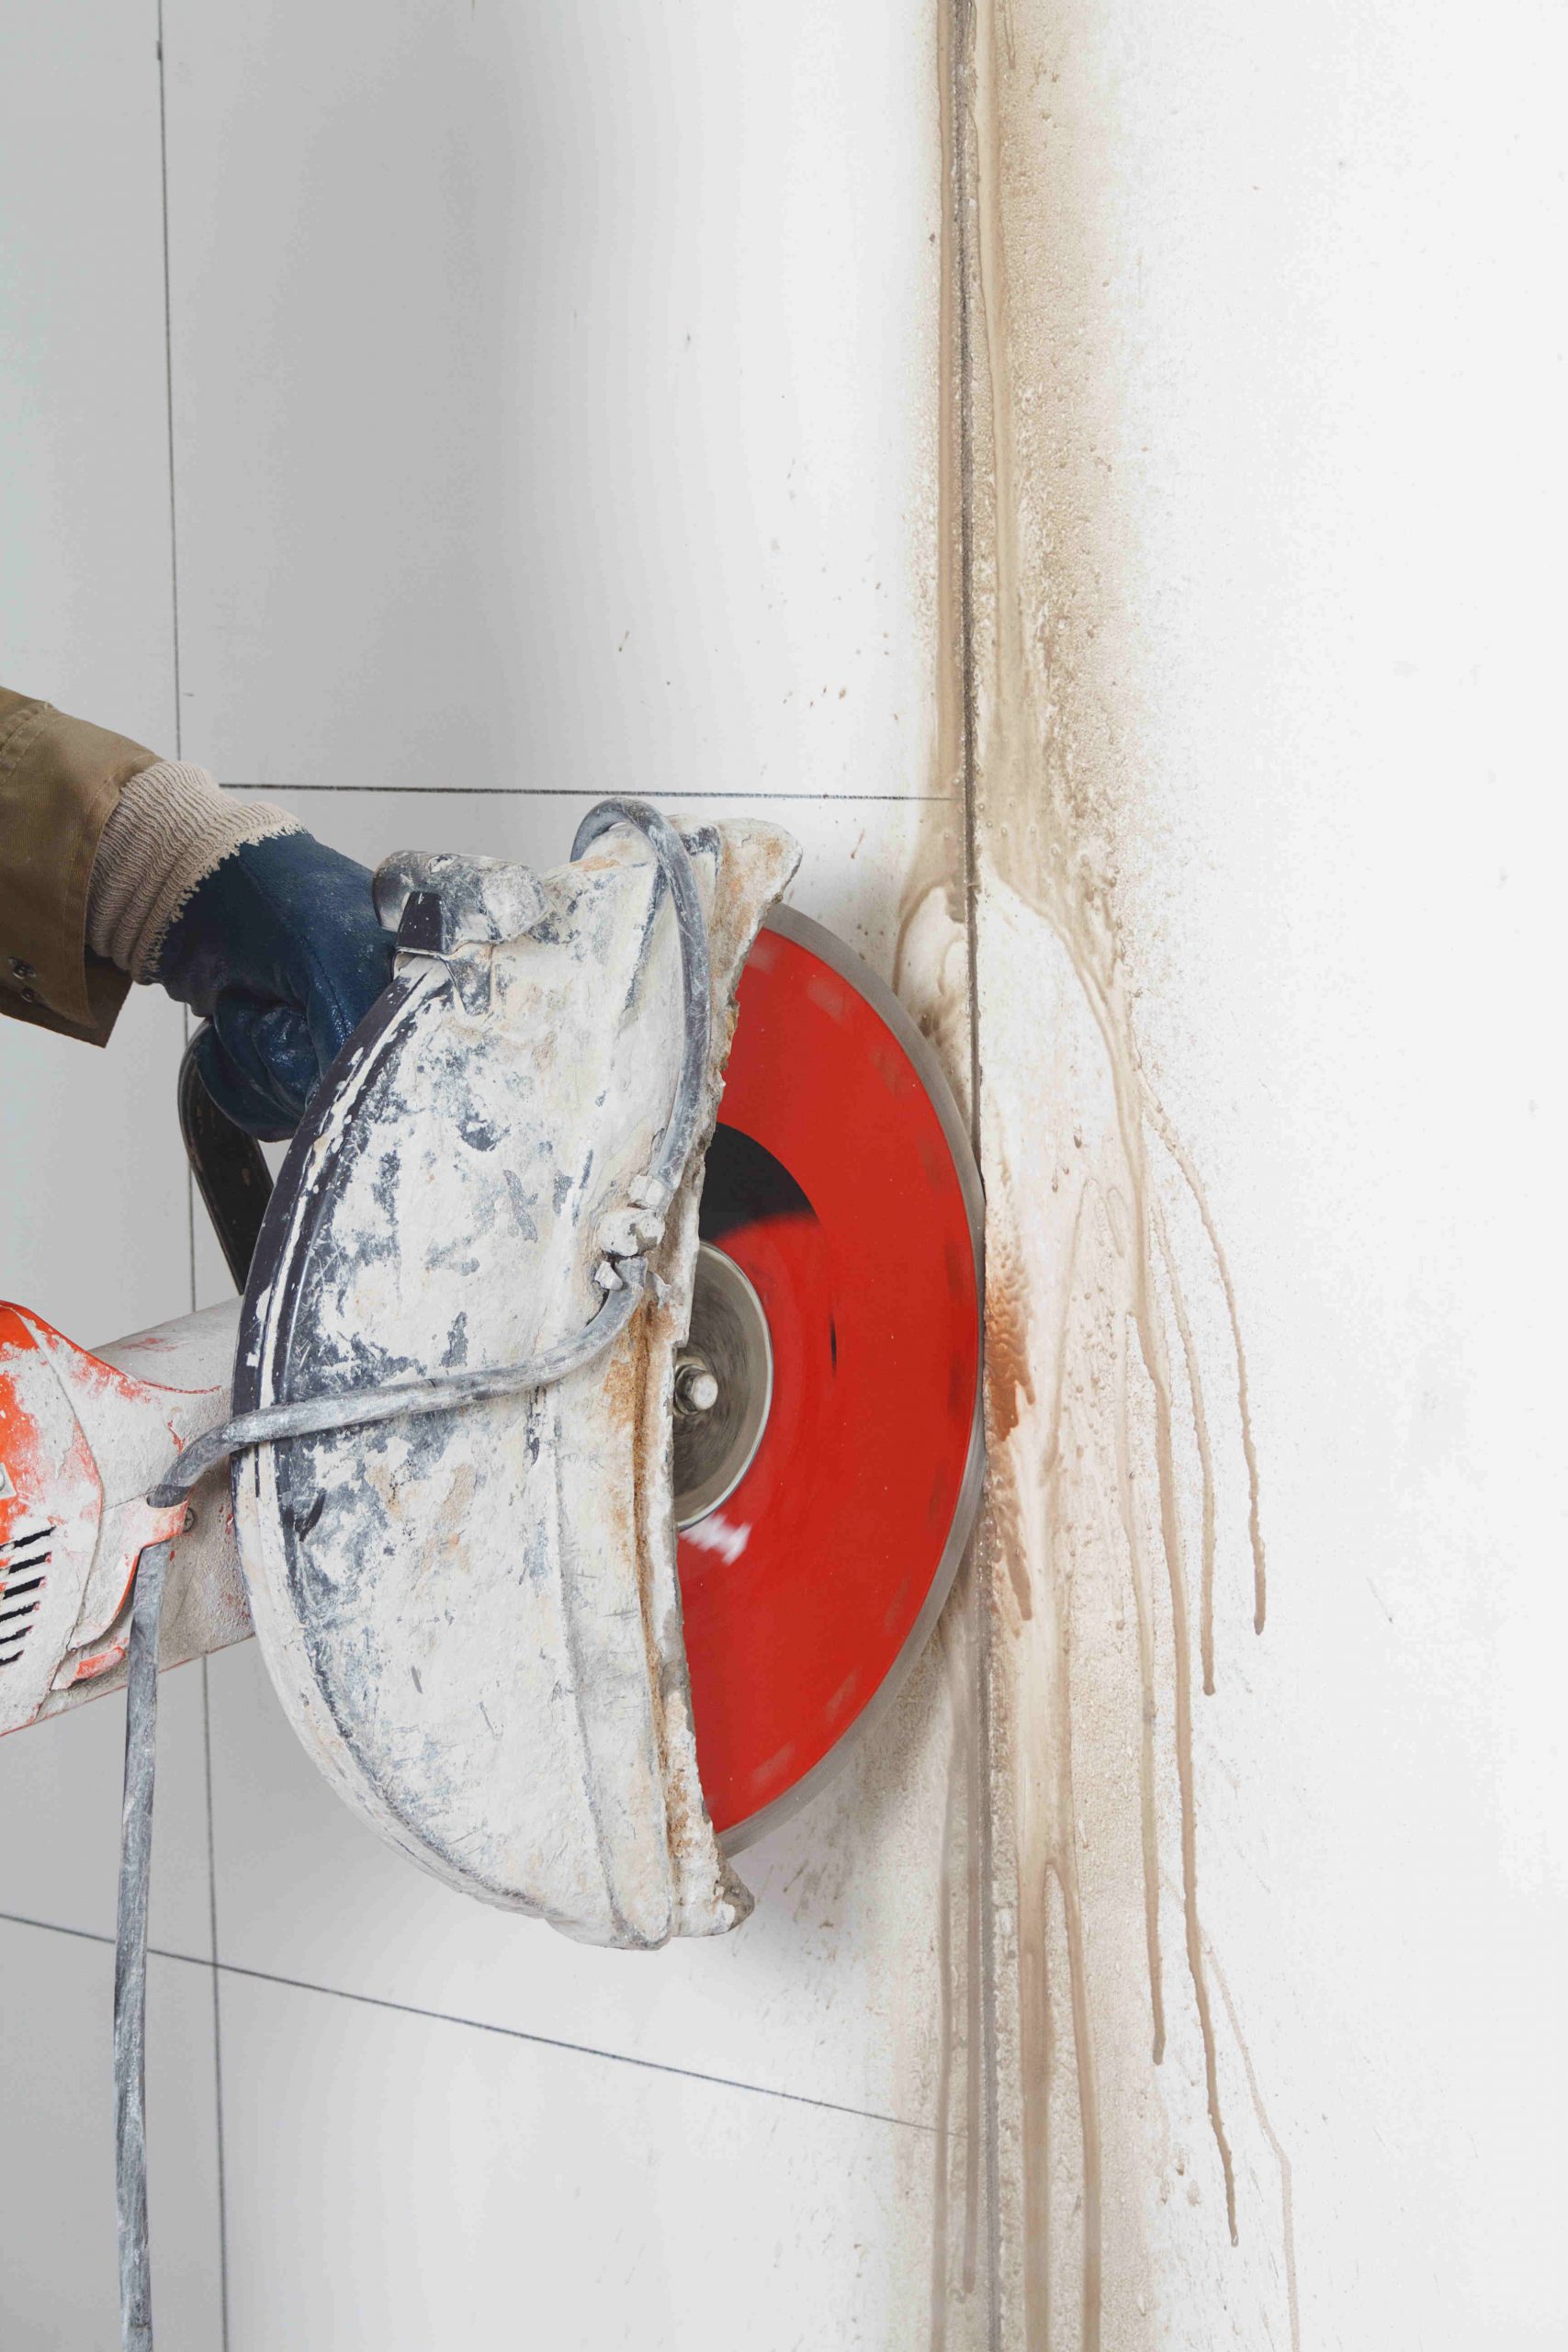
5. Start the Cutting
Set up your concrete saw to cut at 2 inches (50 mm) blade depth over the guide line. This line cut is for making sure that the edges of the remaining concrete are straight and smooth when the new covering is installed. At the same time, it prepares the line-enclosed area for the subsequent concrete breaking procedure. As the cutting is being done, spray the surface area around the blade with soft sprinkles of water. This is in order to lessen the dust and to prevent the blade from overheating. However, be warned not to sprinkle water on the electric saw. After completing the line cut, if you wish to deepen the cut to 4 inches (100 mm), adjust the blade in the cutting saw and repeat the steps.
6. Breaking the Concrete
After the line cut is completed, position the jackhammer to break the concrete starting from an inside corner of the line-enclosed slab. Put the jackhammer on and let it break the concrete. You don’t need to push down on the jackhammer as its weight and movement are enough to break the concrete. You may need to remove the first few broken pieces out right away to make room for the next pieces to fall off. You will find that after the first piece is broken, the next one comes off so easily.
You may find that the concrete is supported by a wire mesh. You may have to cut these wires using your bolt cutter to free the concrete that is stubbornly attached to these hard metals. Also, most concrete that is subjected to traffic would be reinforced with rebars. In such a case, you may also need to cut these but using a demolition saw.
7. Remove the Concrete Fragments
If the cutting site is inside a garden and you need to protect the plants along the way out onto a hired gravel truck, you would need thick gloves to manually load these concrete pieces into carry-able sacks. For the smaller pieces which would be impractical to pick out one by one, use your shovel to scoop these tiny ones into the sacks. If your hired truck is not yet available, you may arrange the sacks abreast of each other in one area close to the pick-up point.
8. Check the Work Done
If you are not satisfied with the depth of your cutting after the area is initially cleared, you may level the area by using the jackhammer again on protruding and unbroken concrete. Repeat this procedure until you are satisfied.
While it is true that the concrete has been removed after the eighth step, you need to complete your job for your own satisfaction. You are not finished until you have cleaned the site, the power tools and the safety equipment. Restore the items that were displaced temporarily. Remove the protective covering on the plants. Clear the site of dust using damp cloth. Remember not to wet electric-powered tools. Clean the gadgets that are washable with water. When you are done, you are now ready to pack up leaving the site ready for the next activity.