How to Level a Concrete Floor

How To Level Concrete Floor High Spots

Many people consider concrete as the best flooring material, given its versatility. It perfectly suits both classic and modern décor for both home and commercial use.

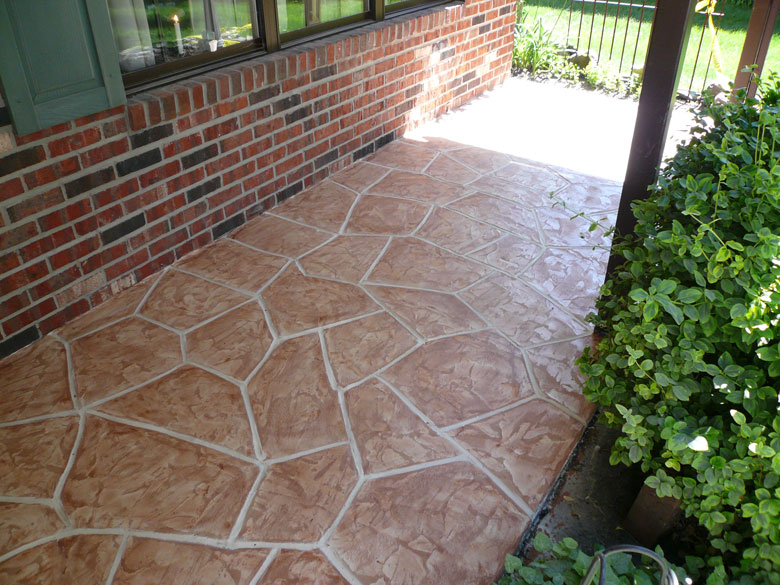
When polished, a concrete floor can be the most beautiful element in interior spaces. The flooring can also last longer than just about any other contemporary flooring material.

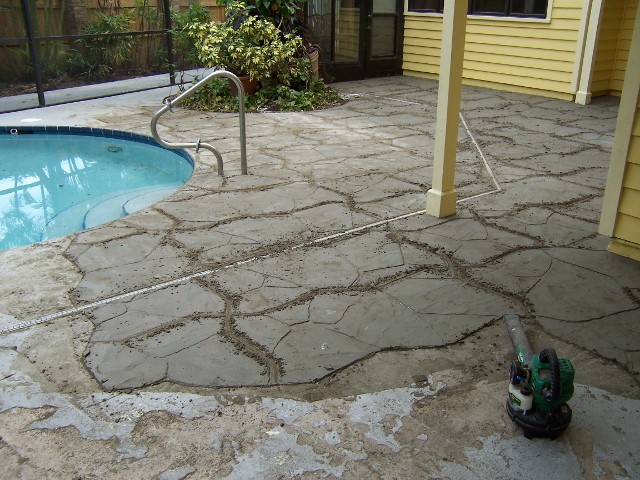
But on the flip side, a concrete floor, particularly one that’s not polished can develop problems over time. The floor can settle unevenly, creating a visible dip on the surface. Moreover, it has tendency to develop cracks that can range from shallow and insignificant to deep and dangerous.

READ: Warning Signs Concrete Cutting and Repairs are Needed

These cracks can widen to the point that they may trip you when walking on the floor. Moisture can also seep in, damaging the floor over time.

Basements are most vulnerable to these, considering the heat and cooling that happens there.

When you see little cracks, these should be repaired to keep everyone safe and restore the floor’s beauty. This also helps increase the value of the property. If in repairing the floor, you’re considering to plan to put tiles or hardwood, you’ll need a levelled surface to work on.

But before you do the repairs yourself, note that it’s best to enlist professional help in repairing concrete floors. With this, you would avoid common problems associated with concrete floors such as high spots and unevenness.

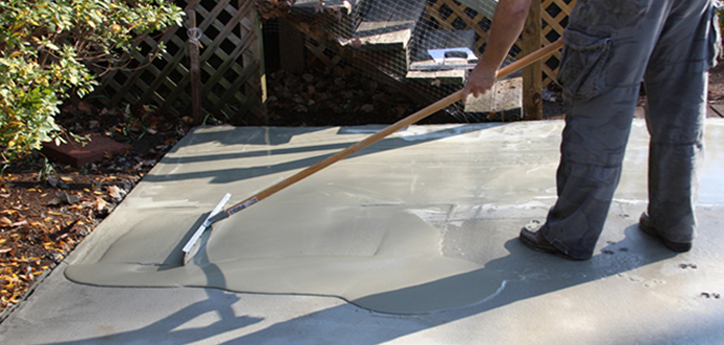
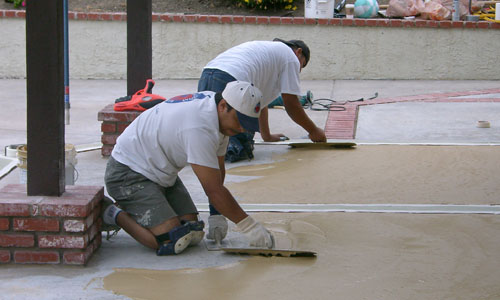
Leveling Concrete Using Grinding

For an uneven floor, grinding the concrete floor high spots is your only option.

Although this sounds simple, this requires a great level of skill and equipment. These are in addition to the physical requirement in carrying hefty bags of compound and equipment.

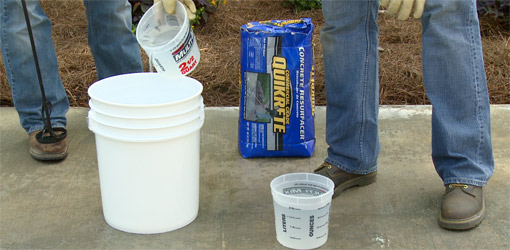
This is where tapping professionals come in handy.  At the onset, they can identify where the high spots are, by using varying methods. For one, some concrete grinding service people put water on the floor to find the high spots.
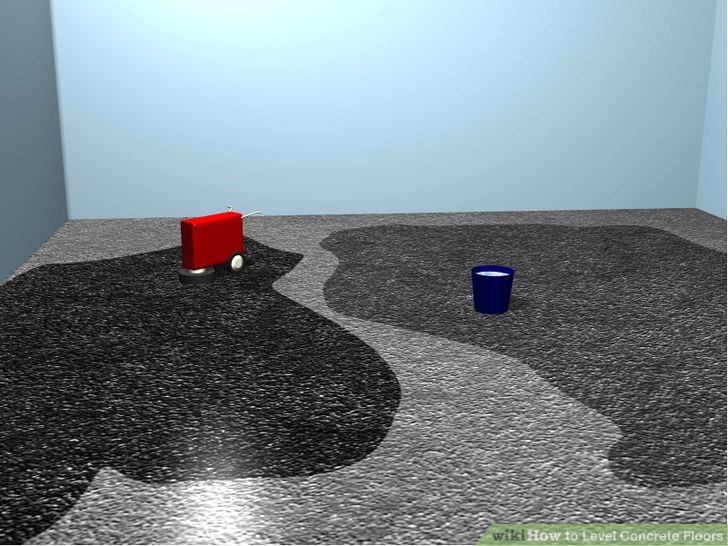
(c) Wikihow

Besides finding the high spots, the major challenge is in knowing when to stop grinding. Problem is there are no means to accurately determine when the desired levelling has been achieved.

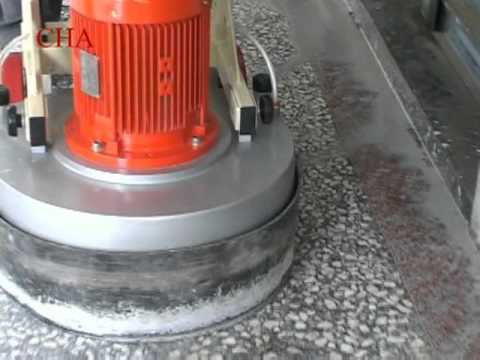
Using a heavy-duty grinder

The kind of tool you use in grinding concrete floor high spots determines the quality of your concrete repair.

A walk-behind heavy-duty grinder with diamond blades on the bottom gives great results. But be careful. The blades in this machine cut so rapidly that a small miscalculation may result in a major dent on the surface.

You’ll need to mount a laser receiver on the grinder to signal that it is time to stop grinding.

In using the receiver, first put the grinding machine on a section of the that has the right elevation.  Then adjust the transmitter elevation until the receiver gives an on-grade indication.

After that, your crew can move to each high spot.

Terrazzo machine

Besides the grinder, some concrete grinding crews prefer a terrazzo machine with Carborundum stones. But this is slower than the diamond grinders.

This machine is typically used by concrete grinding professionals. If you opt to do the grinding yourself, it’s best to lease than buy one.

Problem is, you won’t have the level of expertise to deliver a spot-on result. That’s why unless it’s best to leave all concrete grinding work to experts such as Megasaw that have been doing it for well over 20 years.

© blastrac.fr

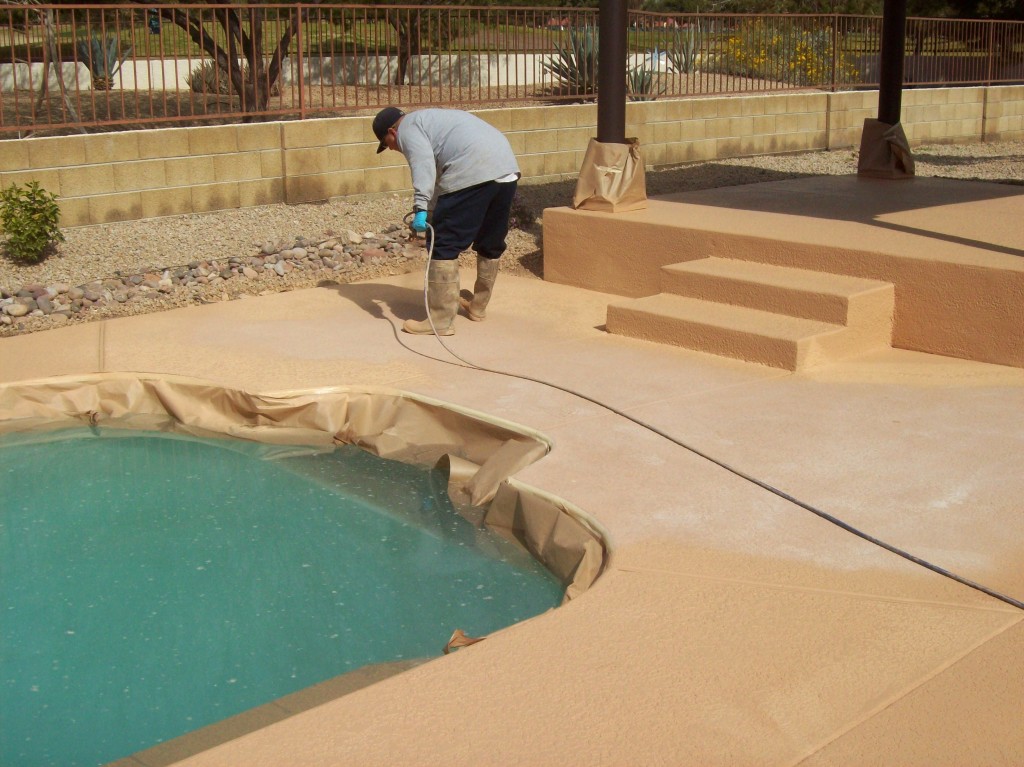
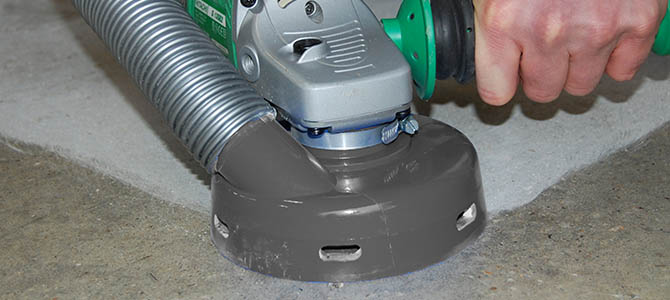
Dust free grinding – most recommended

Besides aiming for the best result for your floor, you should also be concerned about the dust that comes from grinding.

This dust should not to be toyed with. Exposure to the cement dust can irritate eyes, throat, nose and the rest of the respiratory system. Moreover, if it comes into contact with the skin, it may cause moderate irritation,  cracking or thickening of skin.

Worse, the concrete dust may severely burn the skin. It can also damage the lungs, cause lung cancer and silicosis.

To ensure that there’s no dust, you need a concrete grinding equipment fitted with state of the art dust shrouds. These vacuum all the dust as the grinding work is in progress.

Get the company with most experience

To get the best out of your concrete floor grinding project, always go for the company with the most experience.

With over 20 years of concrete grinding in Melbourne, Megasaw has the experience, equipment and expertise to grind high spots in your concrete spots grand deliver the results you want.

In addition, you’ll be delighted to know that the company’s technicians take additional precautions to protect you and the rest of your property from cement dust.

Contact us today to get a quote.

megasaw
CONCRETE GRINDING SOLUTIONS

CONTACT US today or CALL 1300 920 419

What is Concrete Resurfacing

Concrete is an extremely strong and durable material. That’s why it is ideal for the following spaces in indoor floors, garages, driveways, patios, pool decks and among many others.

concrete resurfacing

But no matter how durable concrete is, foot traffic and harsh elements can wear it out over time. Fortunately these days, concrete floors that are not in top shape can be restored.


What is Concrete Resurfacing?

Concrete surfaces can be damaged and have discolourations in the long run. Traditionally, to repair damaged areas, worn out concrete must be removed and replaced. But recently we have seen that it’s easier and more cost-effective to restore concrete surfaces.

Concrete resurfacing renews mildly worn out or slightly damaged concrete surfaces, without needing to remove or replace the existing concrete.  The old concrete structure is used as the base for the resurfacing material.

concrete resurfacing

Concrete Resurfacing VS Traditional Method

Compared to the traditional method, concrete resurfacing is:

– cost efficient

– less tiring

– time consuming

This is because there is no need to replace the broken concrete. The concrete resurfacing material is made of special bonding agents and a thin cement-based overlay that are combined together to form a mixture.

This mixture is then poured on top of the existing concrete to form smooth and renewed surfaces. It would take around 24-72 hours for this concrete resurfacing material to dry up and ready for you to step or drive on. When it dries, your concrete floor becomes more durable and stronger.


How To Concrete Resurfacing

Any handy homeowner can do concrete resurfacing provided they have all the necessary equipment. It takes cleaning, repairing and overlaying a new concrete material.


Step 1: Clean the entire aging surface.

This is crucial. Take out any debris and loose concrete completely. You can use a power washer to make sure will help you remove all the remaining fragments.

Most manufacturers of concrete refurbishing material recommend cleaning with a 3,500 psi washer. To remove tree or paint sap and oil stains,  use a sealer.

concrete resurfacing
Image credit to Concrete Repairman

Note that when using cleaning agents or chemicals, you must thoroughly wash the surface to remove  the chemicals.

This is necessary because any residue can interfere with how the concrete resurfacing material adheres to the old concrete surface. Also, make sure that the adjoining house walls and the surroundings of the treated area are covered to protect against over spraying.


Step 2: Repair the concrete.

Fill cracks, holes and dents properly to have a smooth canvas for the new concrete material. Reinforce cracks with fabric and then cover them with a polymer concrete. Be sure to smooth it out evenly with the surrounding concrete. On the other hand, fill holes with epoxy mortar. After this, you can apply the first coating.

concrete resurfacing mixture
Image Credit to Today’s Home Owner

Step 3: Mix the concrete resurfacing material one bag at a time.

A 40-pound bag usually needs 3½ quarts of water. If you are mixing in warm temperature, use cold water, while use warm water in cool temperatures. For best results, mix the substances using a ½ inch drill and paddle mixer.

Here’s how you create a mixture. In a clean plastic bucket, pour the water and mix in the 40-pound bag resurfacer. Mix for several minutes until it becomes smooth and has a pourable consistency. Let the mixture rest for a few minutes and then mix again.  Add a little more resurfacer or water if needed. Doing this creates a pourable mixture.

concrete resurfacing
Image Credit to Multi Coat

Step 4: Overlaying.

Once your concrete surface is cleaned, repaired, and moistened, it is now ready for overlaying. But before laying out resurfacing material you must spray the surface with the hose. This is done to prevent the concrete won’t draw the moisture out of the resurfacing material.

Be sure to remove all the water off the concrete surface. Then, pour a little amount of the mixture on the surface. Spread the resurfacing material evenly to create an even and smooth finish. Try using a trowel when finishing the surface.

For professional-looking edges, use a concrete edger. But do this within the first 15-20 minutes after application.

Note that the resurfacing material often creates a smooth finish which is not very advisable for sidewalks, indoor flooring, driveways and patios. However, you can scuff the surface using a long-handled broom and make full strokes across the concrete surface. Be sure to do this within 5 minutes after application when the mixture is still wet.


Step 5: Leave it for 2-3 days

Let it cure by leaving the area untouched for about 48-72 hours. When the surface dries completely, you will have a stronger and more beautiful, brand new floor.

concrete resurfacing floor
Image Credit to DRK Concrete

Depending on your taste, there are surface enhancers or decorative concrete resurfacing treatments you can use. You can even choose the appropriate seal coat to protect your new concrete surface.

In addition, there are also non-slip coatings that can prevent injuries and unwanted accidents, which are necessary  considering  concrete surfaces can become slippery when they get wet.

With decorative concrete resurfacing, you will have countless options for texture, colour, and patterns as well as a plethora of many different choices for resurfacing, patching and sealing systems.

It also includes acrylic concrete sealer for outdoor floors and clear epoxy sealing for indoors. You can also have matte or high gloss finish and non-slip grits when you choose to have decorative concrete resurfacing.


When should you do Concrete Resurfacing?

Concrete resurfacing is actually not designed to repair all concrete damages. This only works best with minor or slight floor damages.

Keep in mind that most concrete resurfacing materials are suitable only to a deep of 3/8 inch to ½ inch. Ergo, this is not suitable for concrete surfaces that are not structurally sound — chunks of concrete have lifted or sunk or broken and there is evidence of heaving. For this, you will need the area be replaced.

In addition, serious problems such as large, deep cracks running through the slab and disintegration of the concrete surface into powdery substances cannot be corrected with just the concrete resurfacing method.

Ultimately, concrete resurfacing is more economical and can be done  more quicker to do perform than replacing the concrete with new material. Plus, you have the option to put decorative concrete, to add character to your dull floor.

But to be sure that resurfacing is suitable to repair your concrete, consult with a concrete repair professional.

Posts navigation